This is an old revision of the document!
Table of Contents
RGB LEDs
Optional, not fitted in camp version
| LED | Port | Location | Color / Type |
|---|---|---|---|
| RGB801-808 | P8_0 | 6 on Antenna and 2 in the lower area of the PCB | RGB / WS2812B |
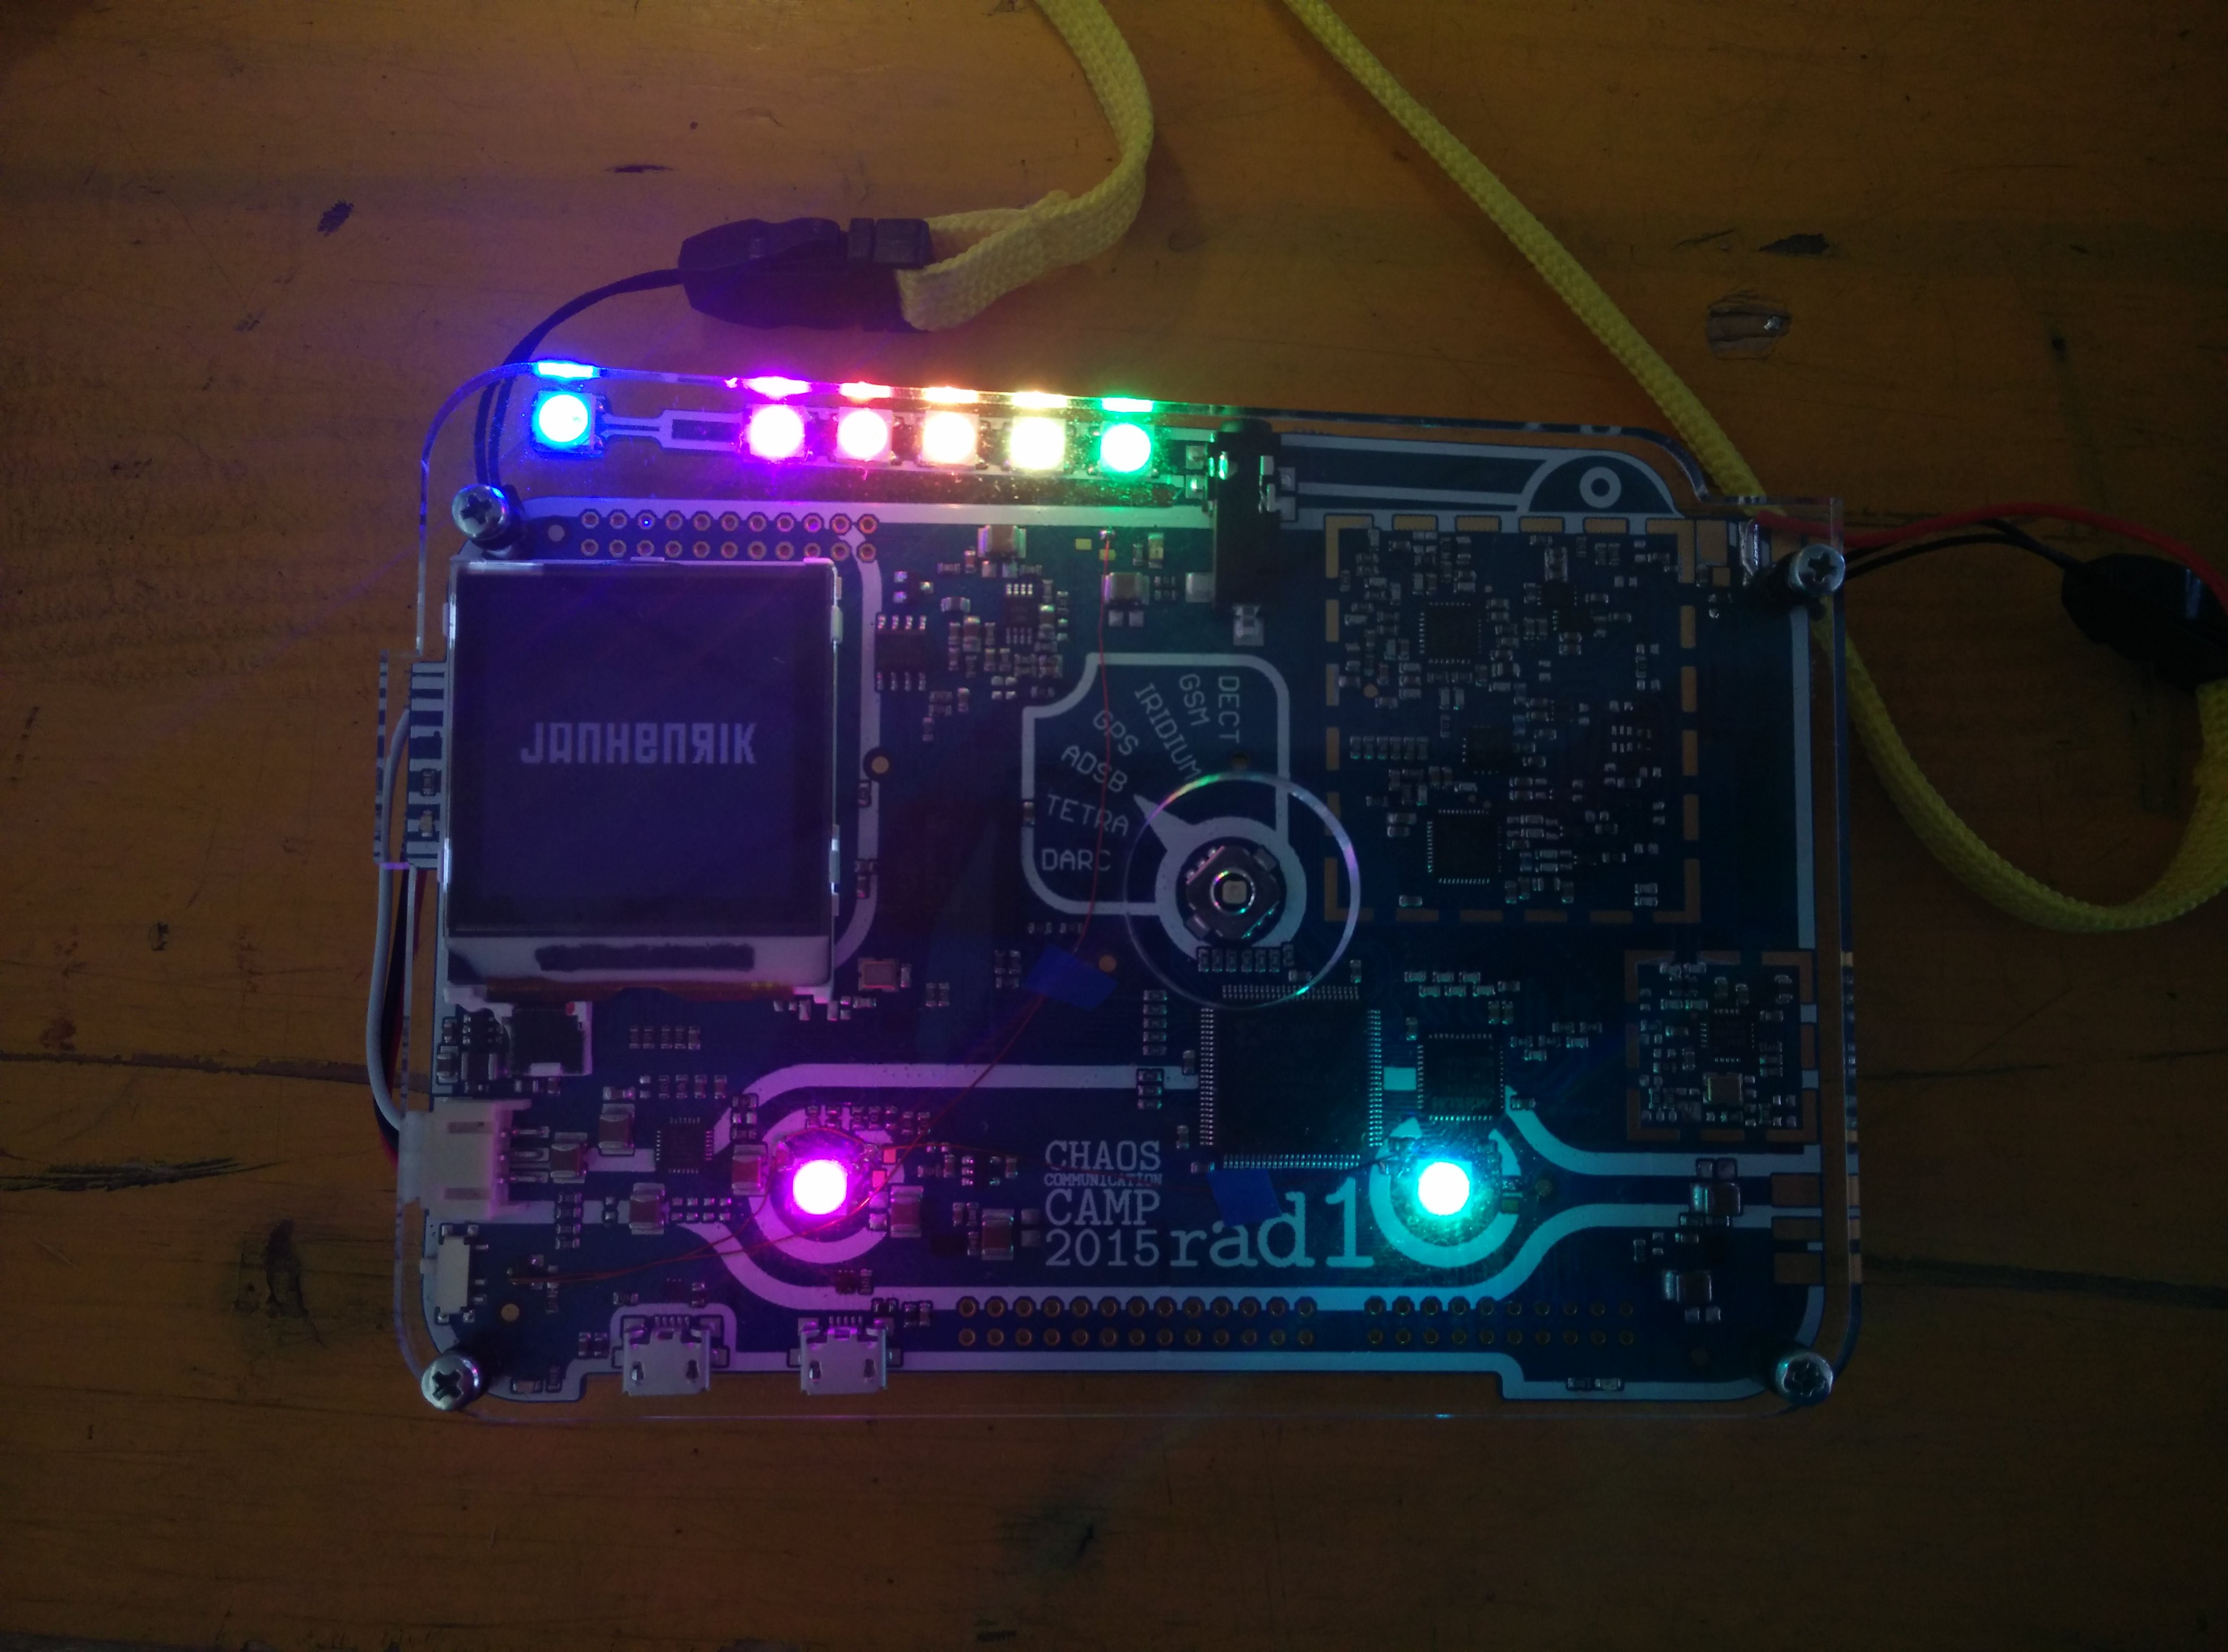
These are RGB LEDs with their own microcontroller, so all LEDs can be programmed individually. They are daisy chained, first the two in the lower area of the PCB and then six on the antenna on the top. So if you don't want to add all LEDs, or want to start with only one first, you have to follow the order “middle left, middle right, antenna from right to left” or bridge the data pins of the unused LED pads.
![]() Important note
Important note ![]() Due to a fn0rd in the layout the transistors intended to control power of the LEDs can't be used as intended. The transistor pads have not been populated. You either have to
Due to a fn0rd in the layout the transistors intended to control power of the LEDs can't be used as intended. The transistor pads have not been populated. You either have to
- build some complex SMD sculpture using wires or
- simply bridge 3 of these pads. But then your badge will always be powered, even if turned off, so either:
- try to use a jumper or
- try to use a switch to bridge the transistor pads (with some wires one switch can be used for all three) or
- always disconnect the battery to turn the badge off.
Example with all possible LEDs and bridges (for power supply) soldered (LEDs green, bridges red): 
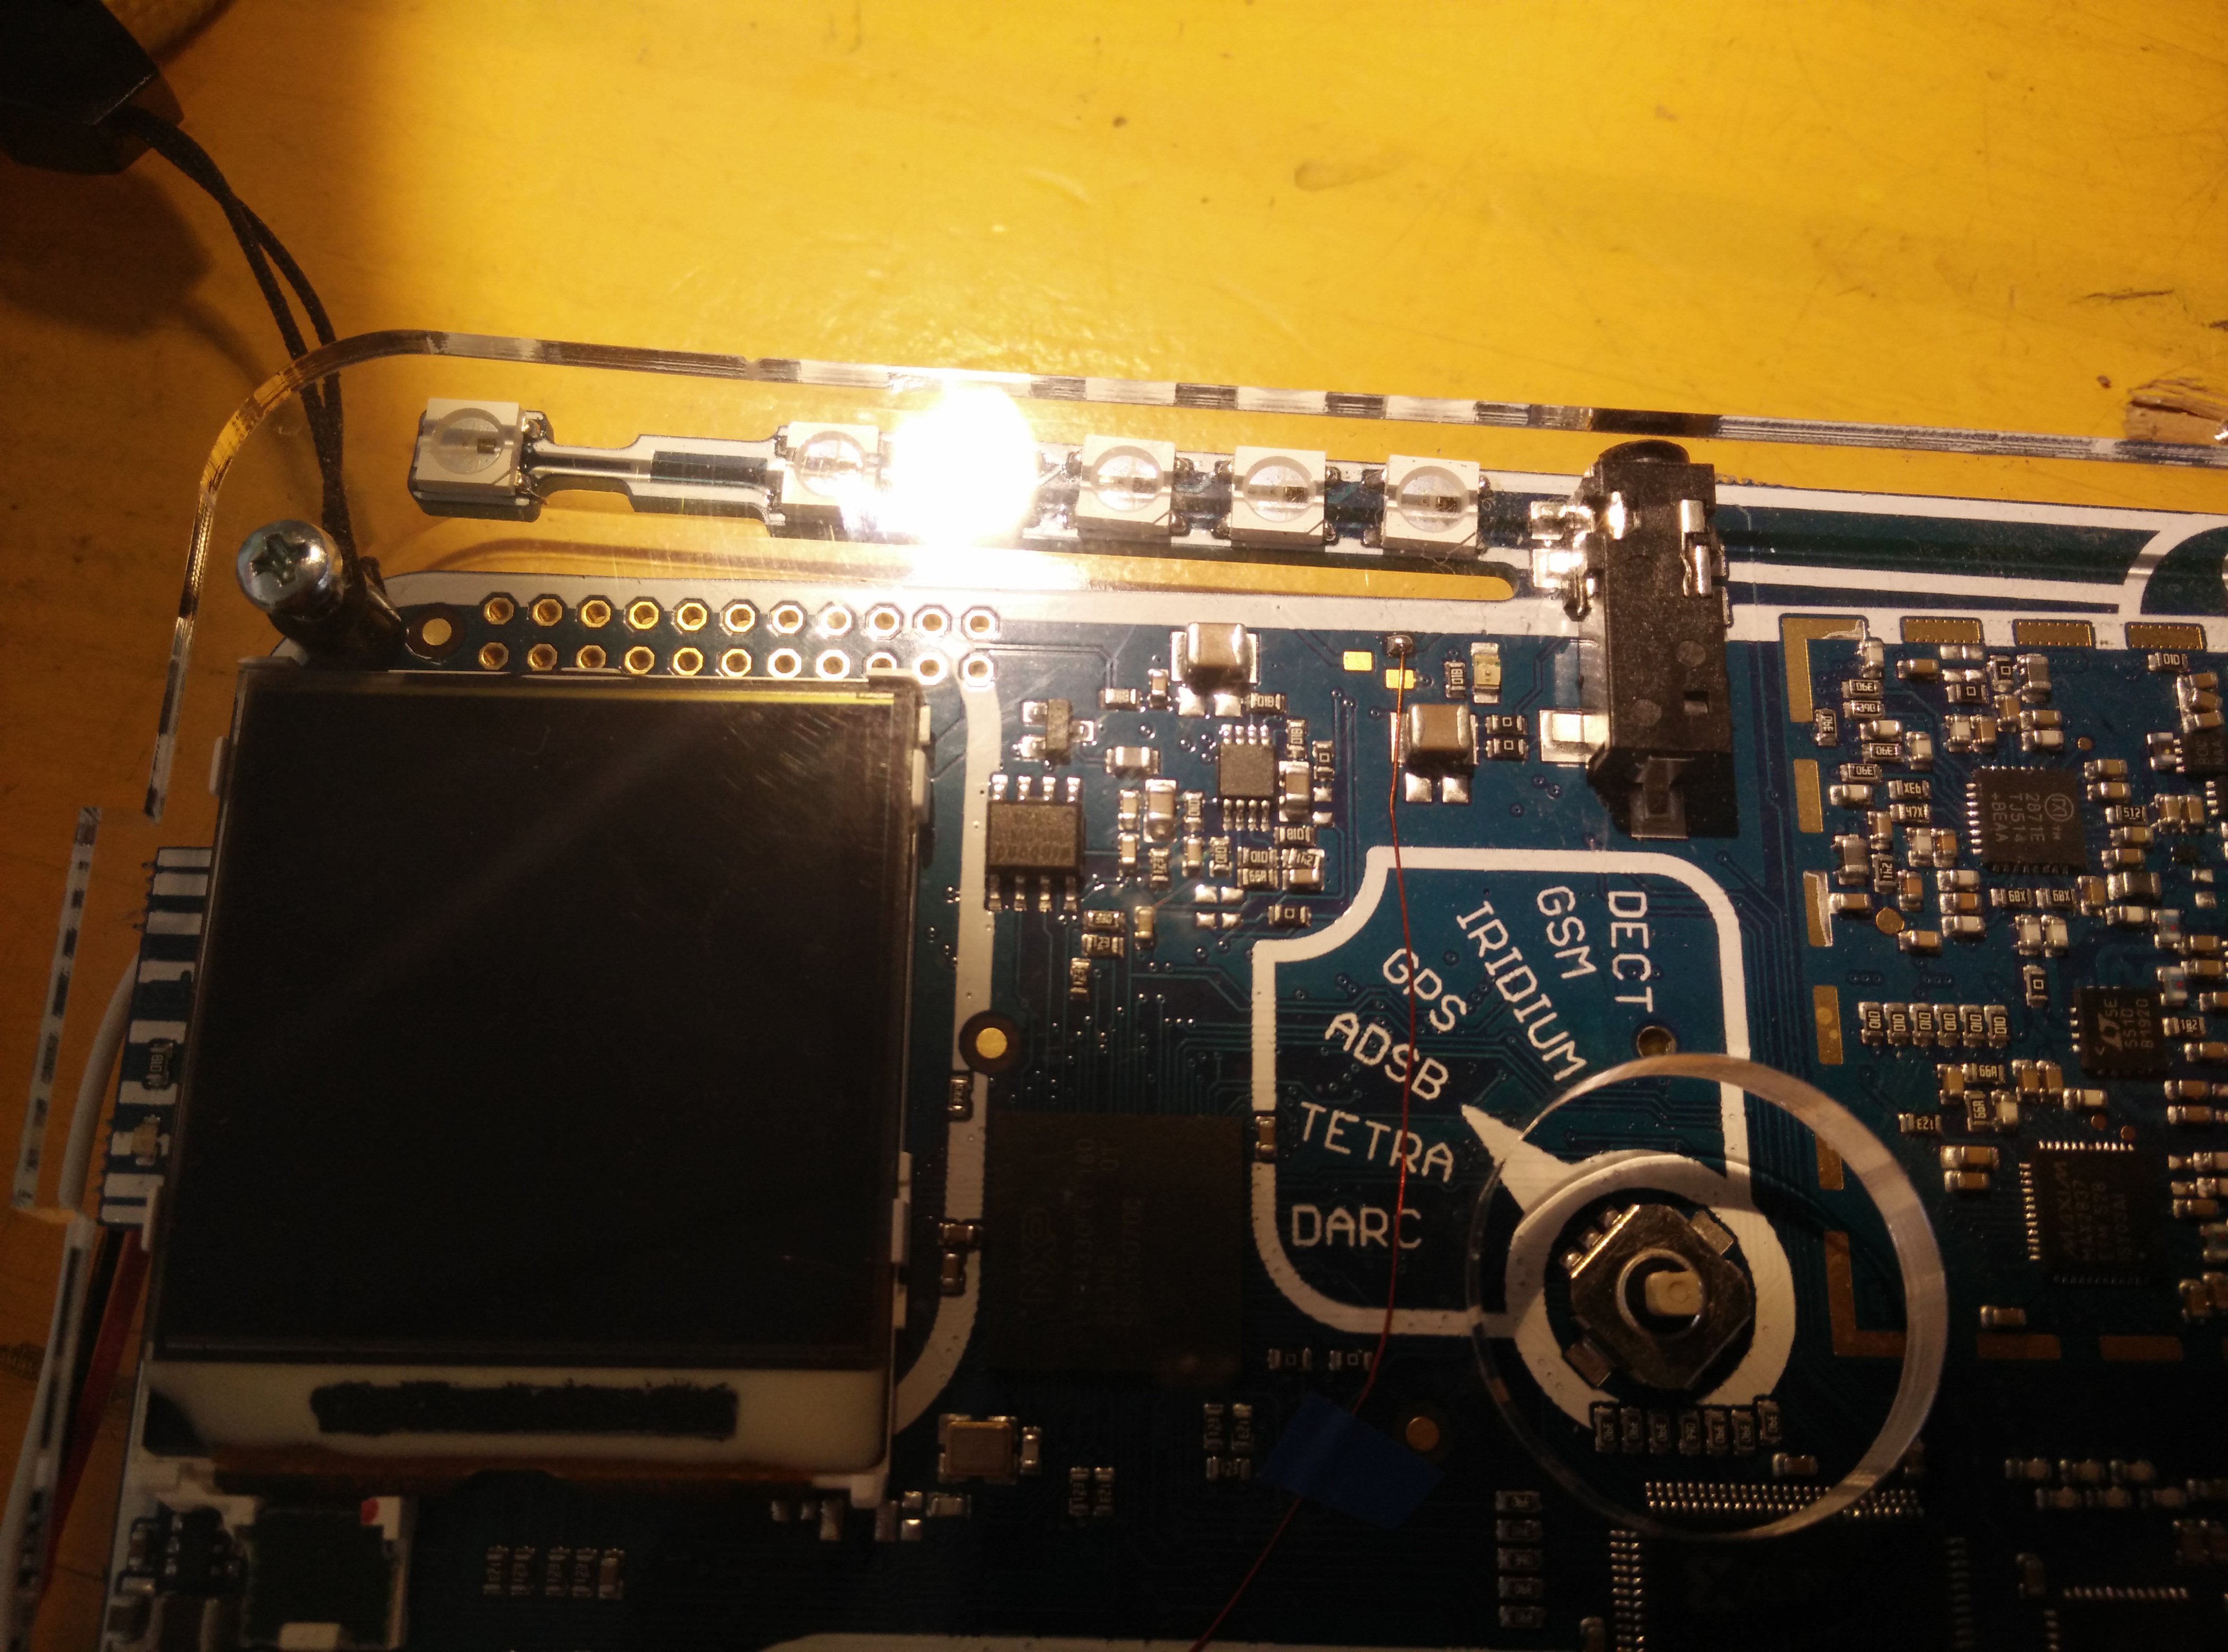
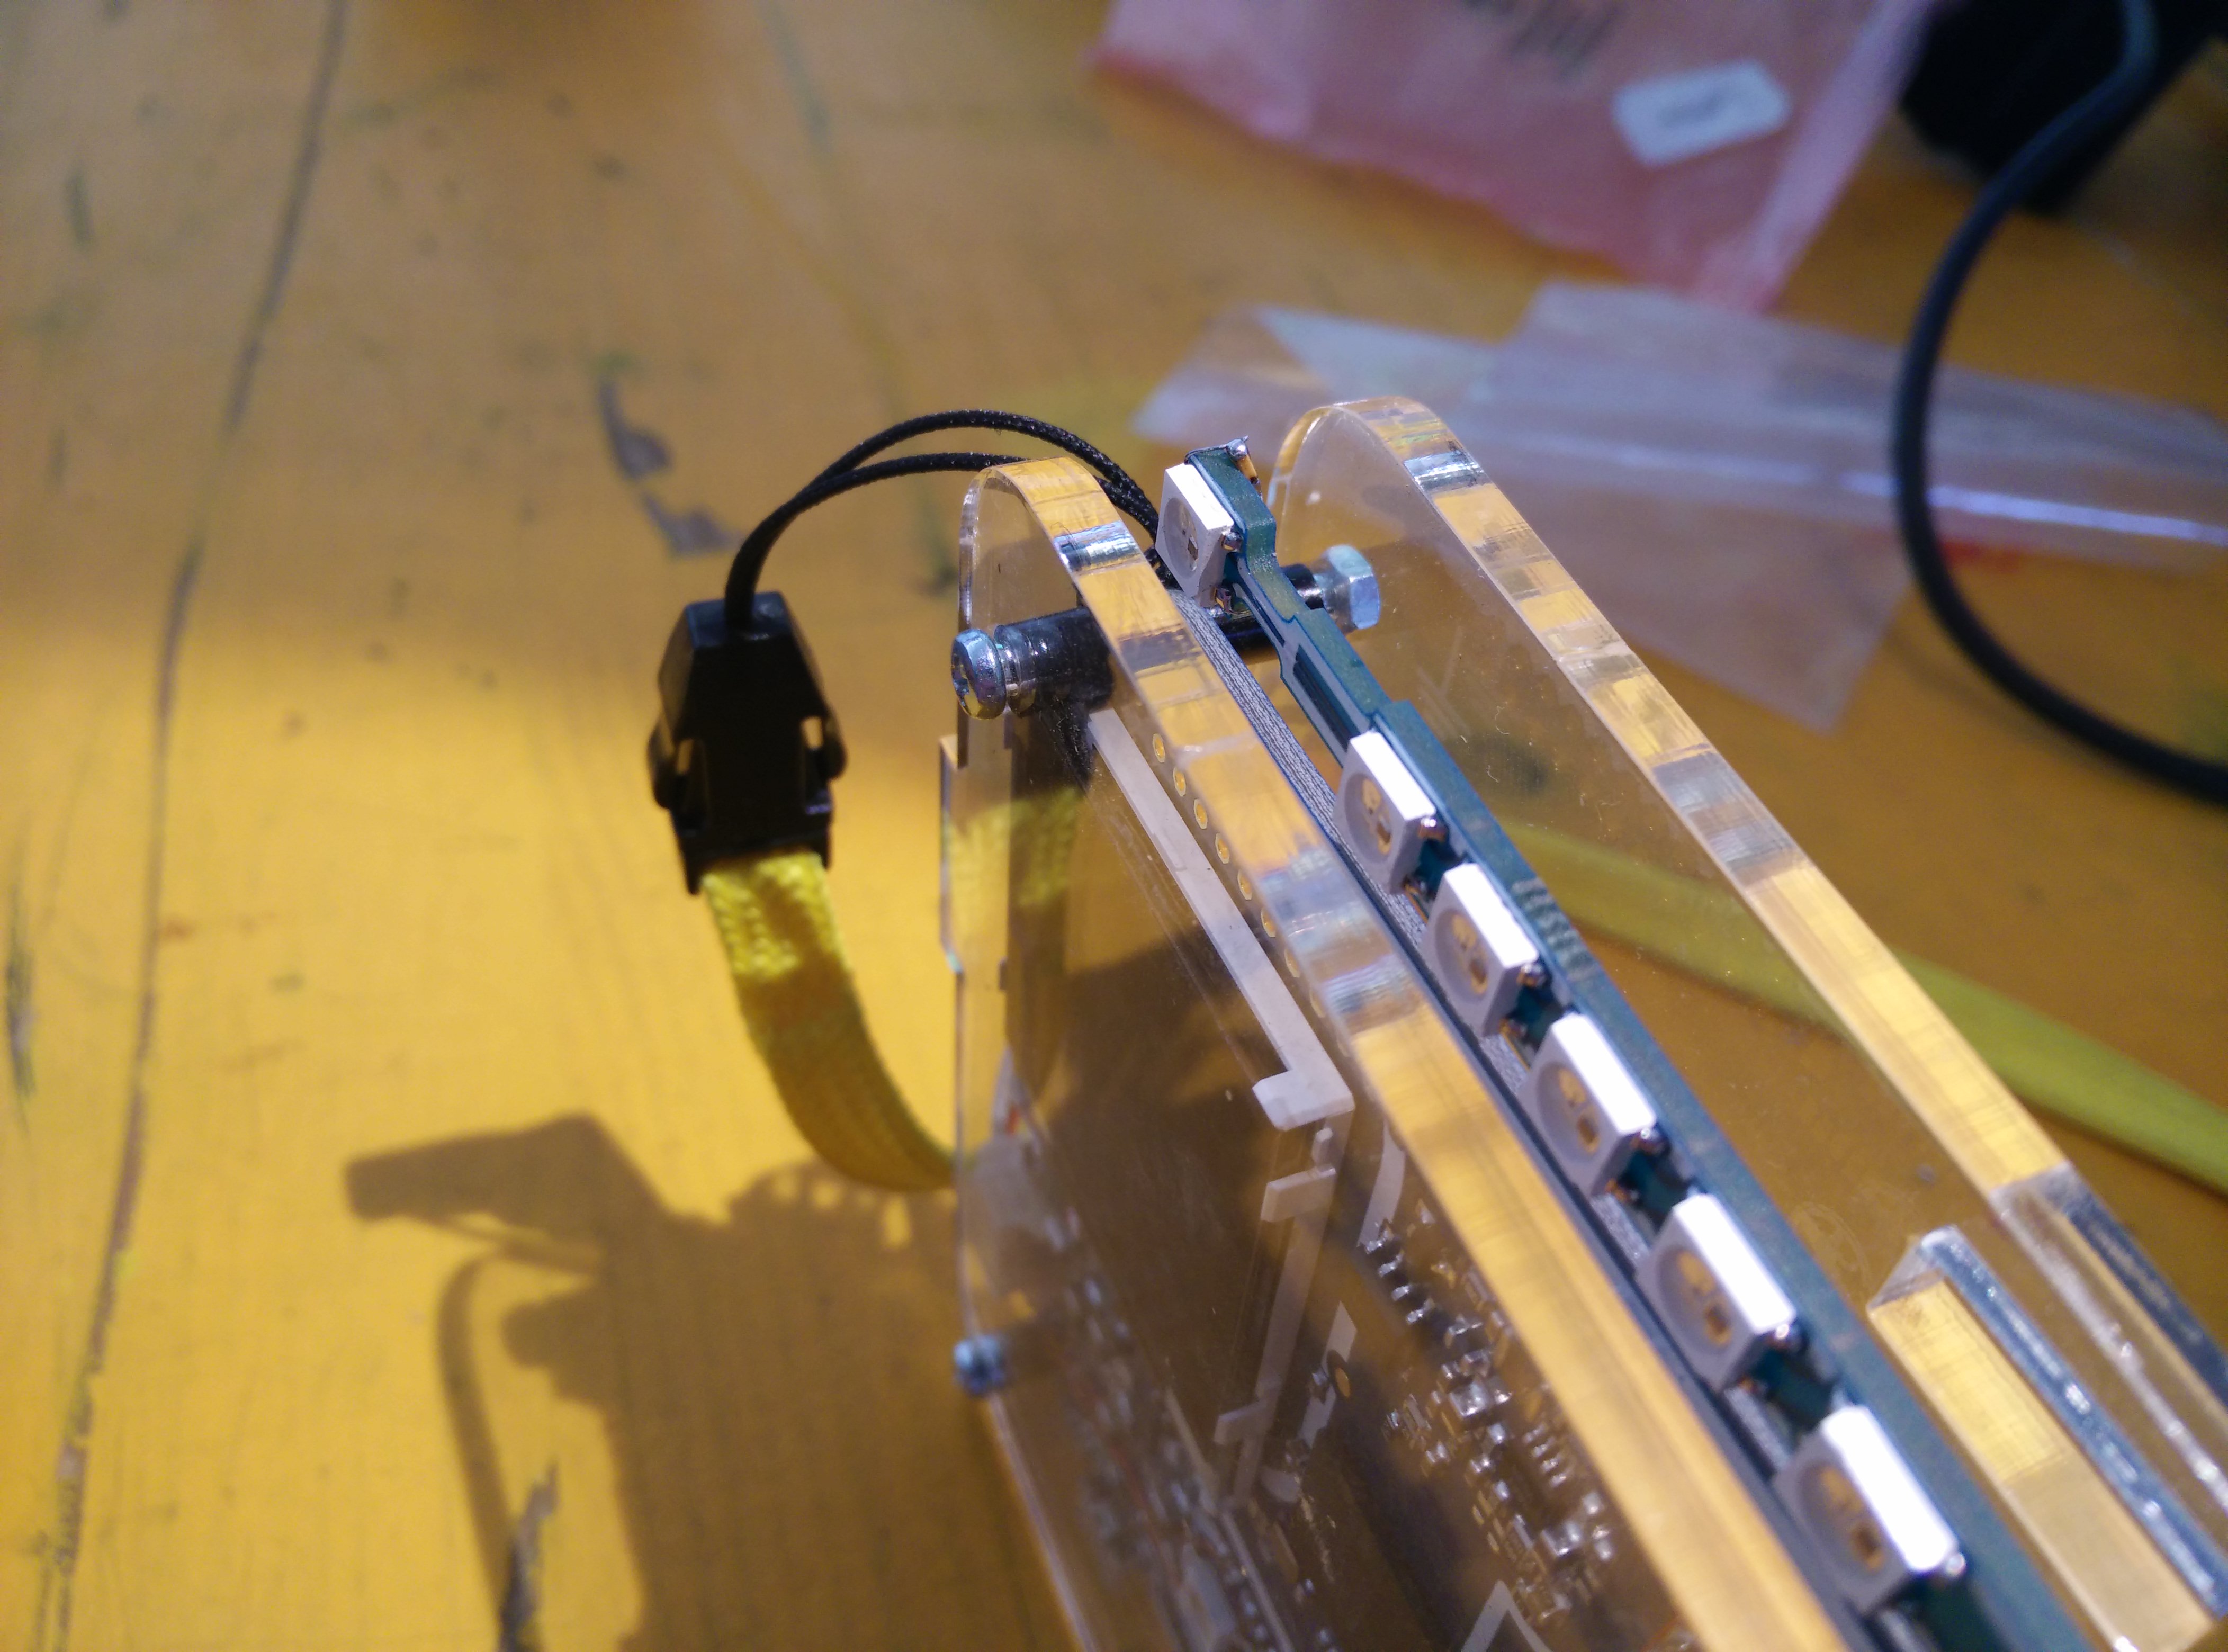
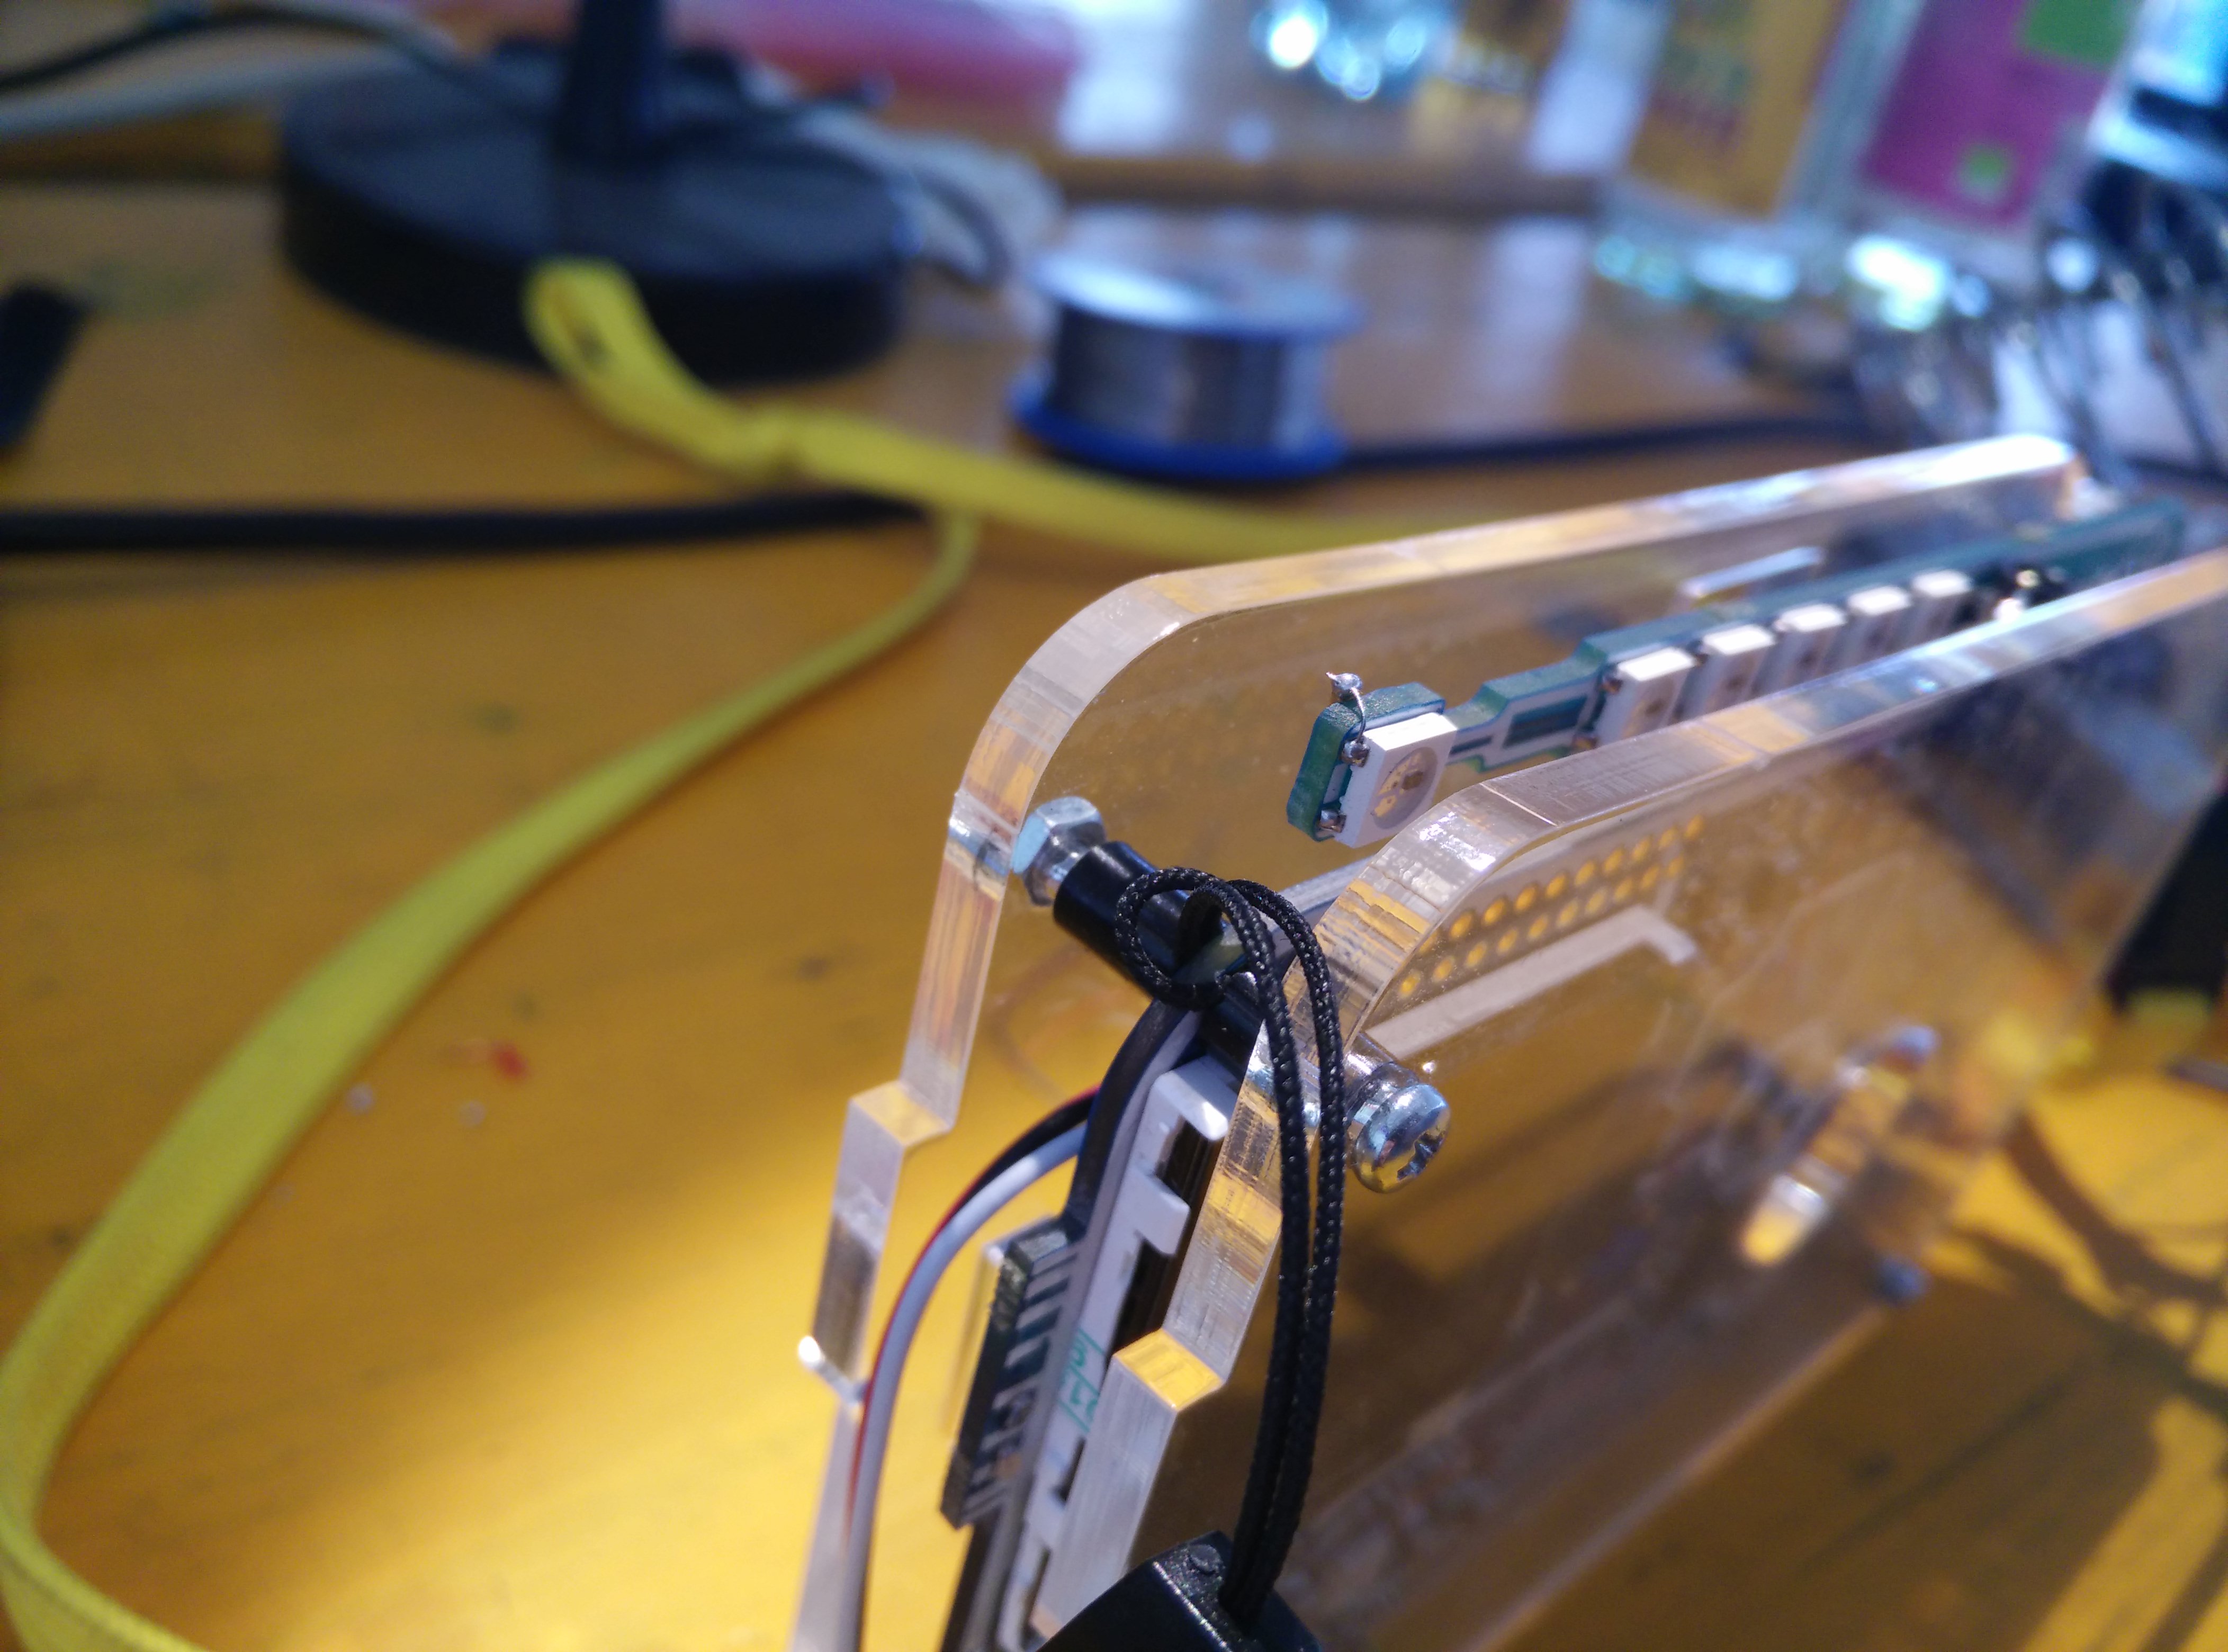
Example with only two LEDs at the antenna, then the bridges at the lower part of the board aren't needed but you need to add bridges for transporting the signal (ignore the yellow arrows): https://twitter.com/michaelossmann/status/629779084801781760
Sorry for that, but wouldn't it be boring otherwise? ![]()
How to properly solder the LED's
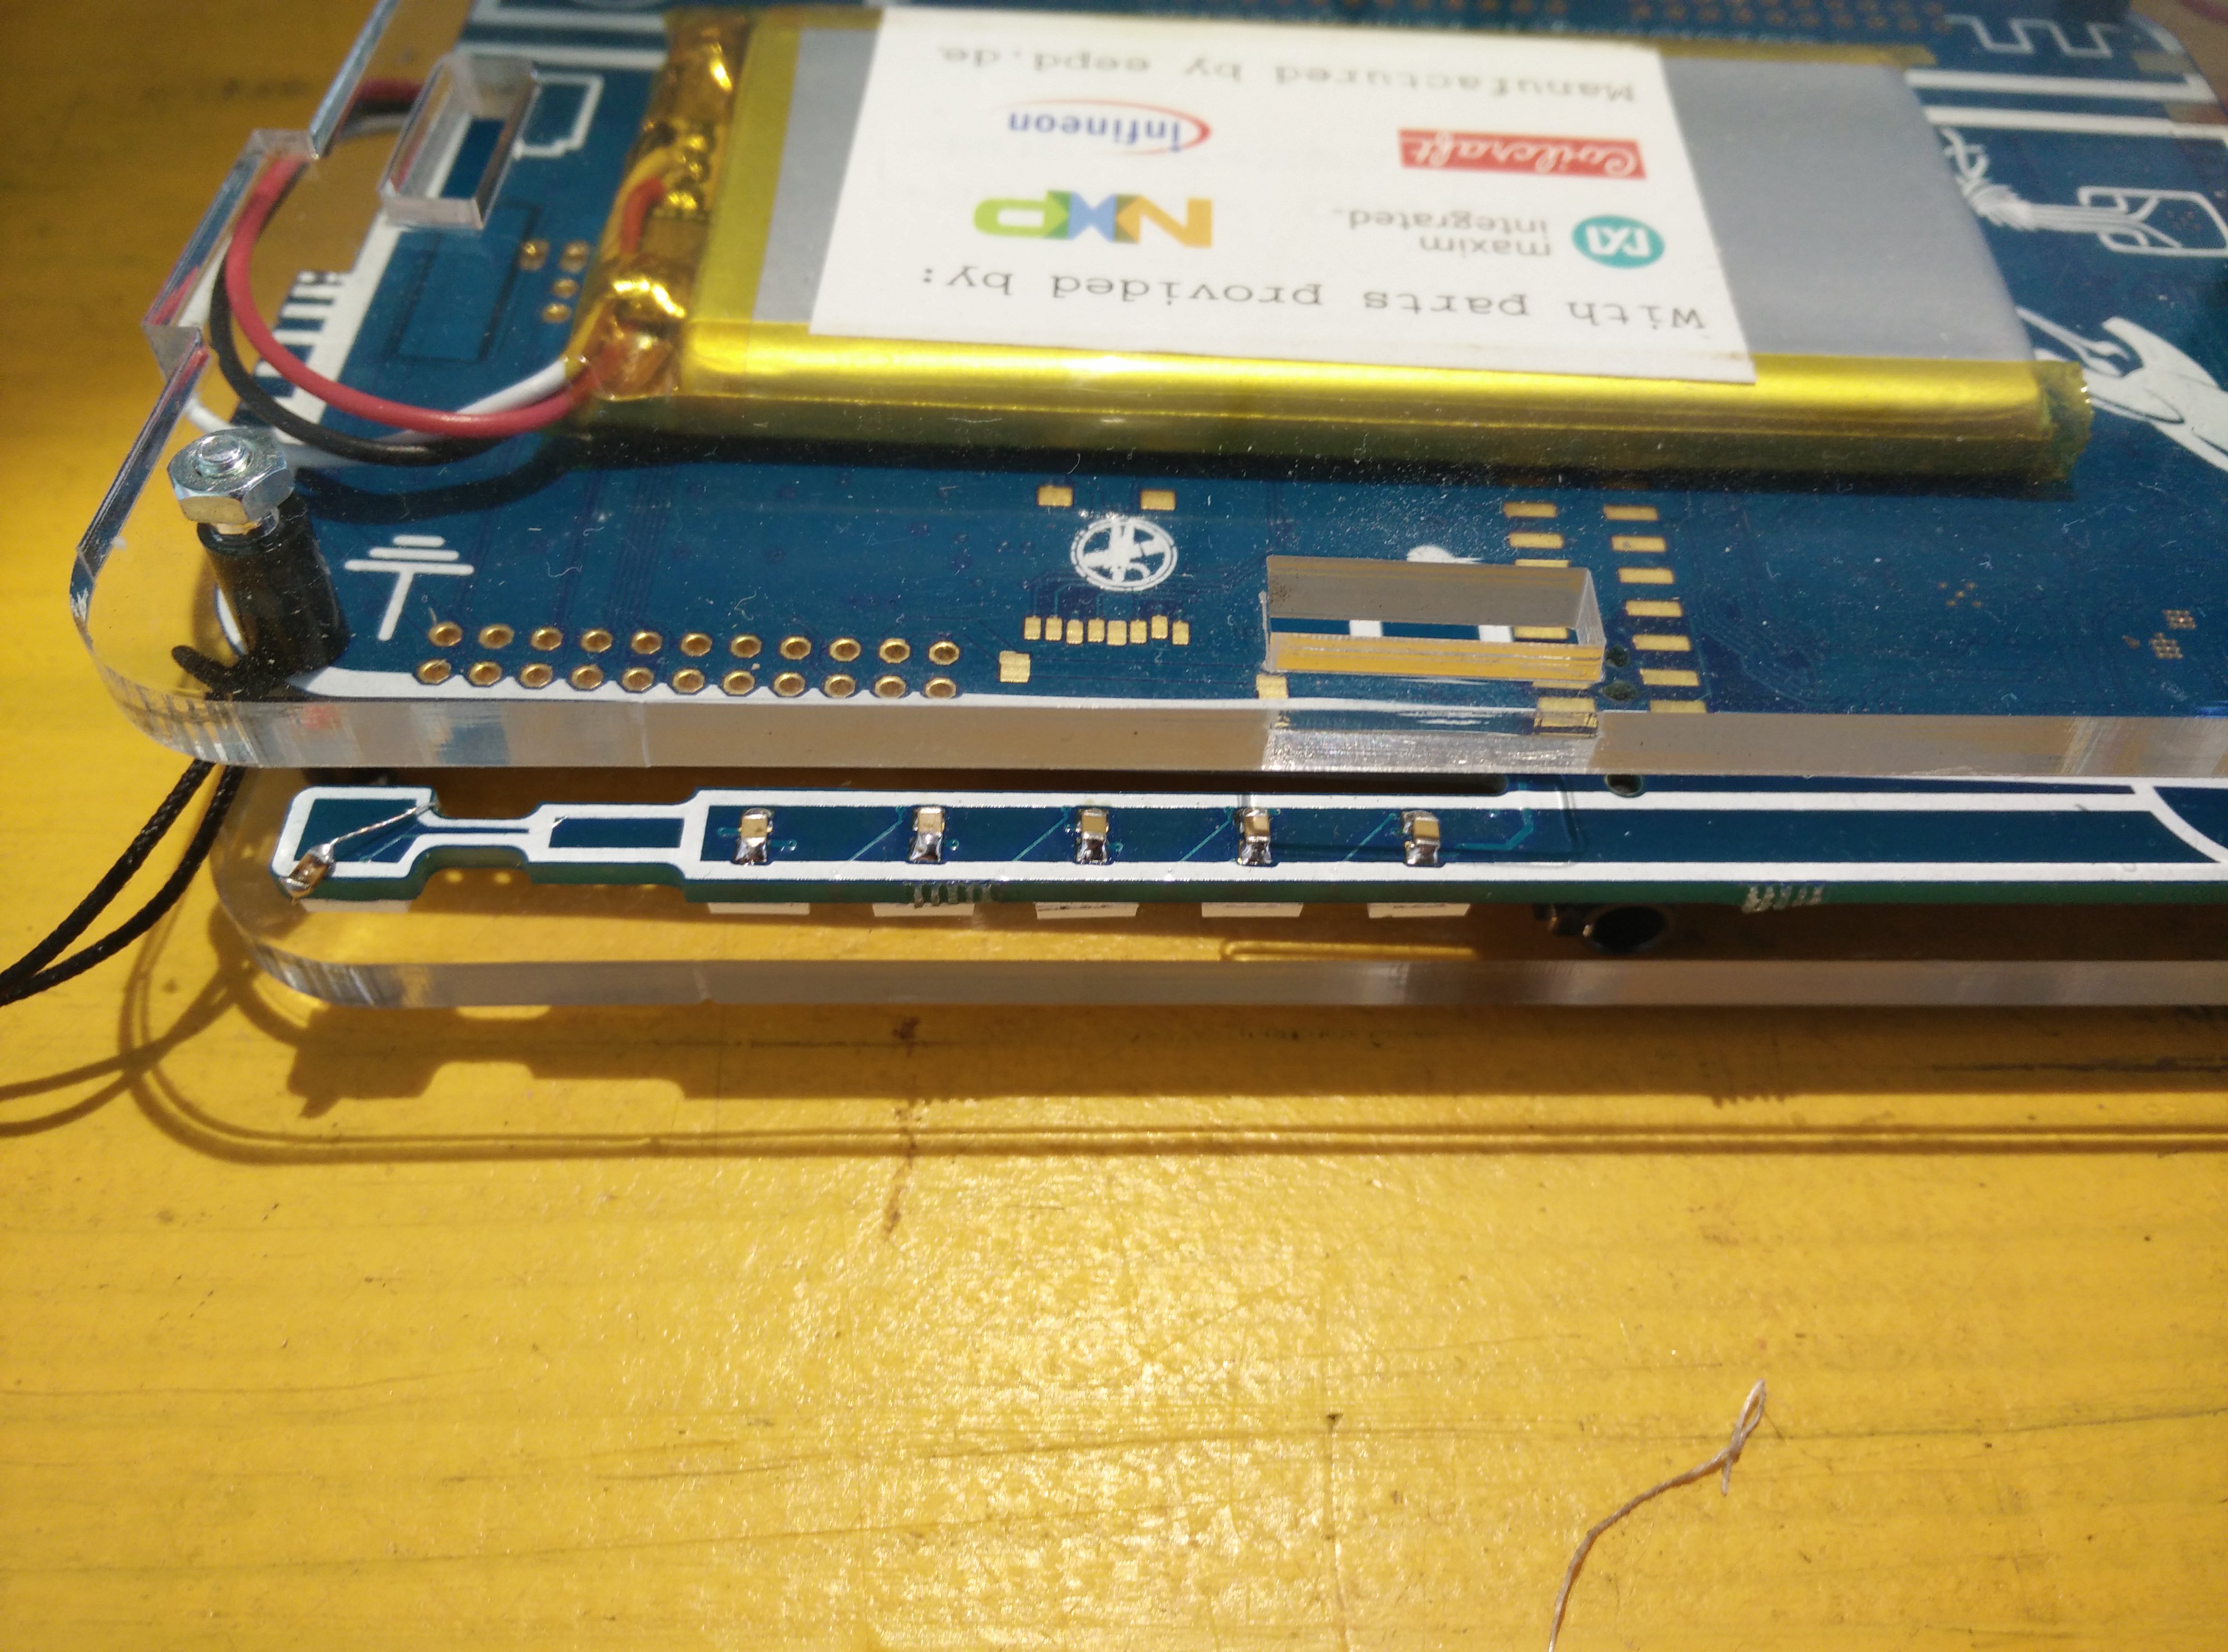
To solder the LED's properly you have to do a few things. There are mainly two things you have to care of, the wiring and the capacitors. So we will add some thin wires, capacitors and of course the LED's to the rad1o.
Why?
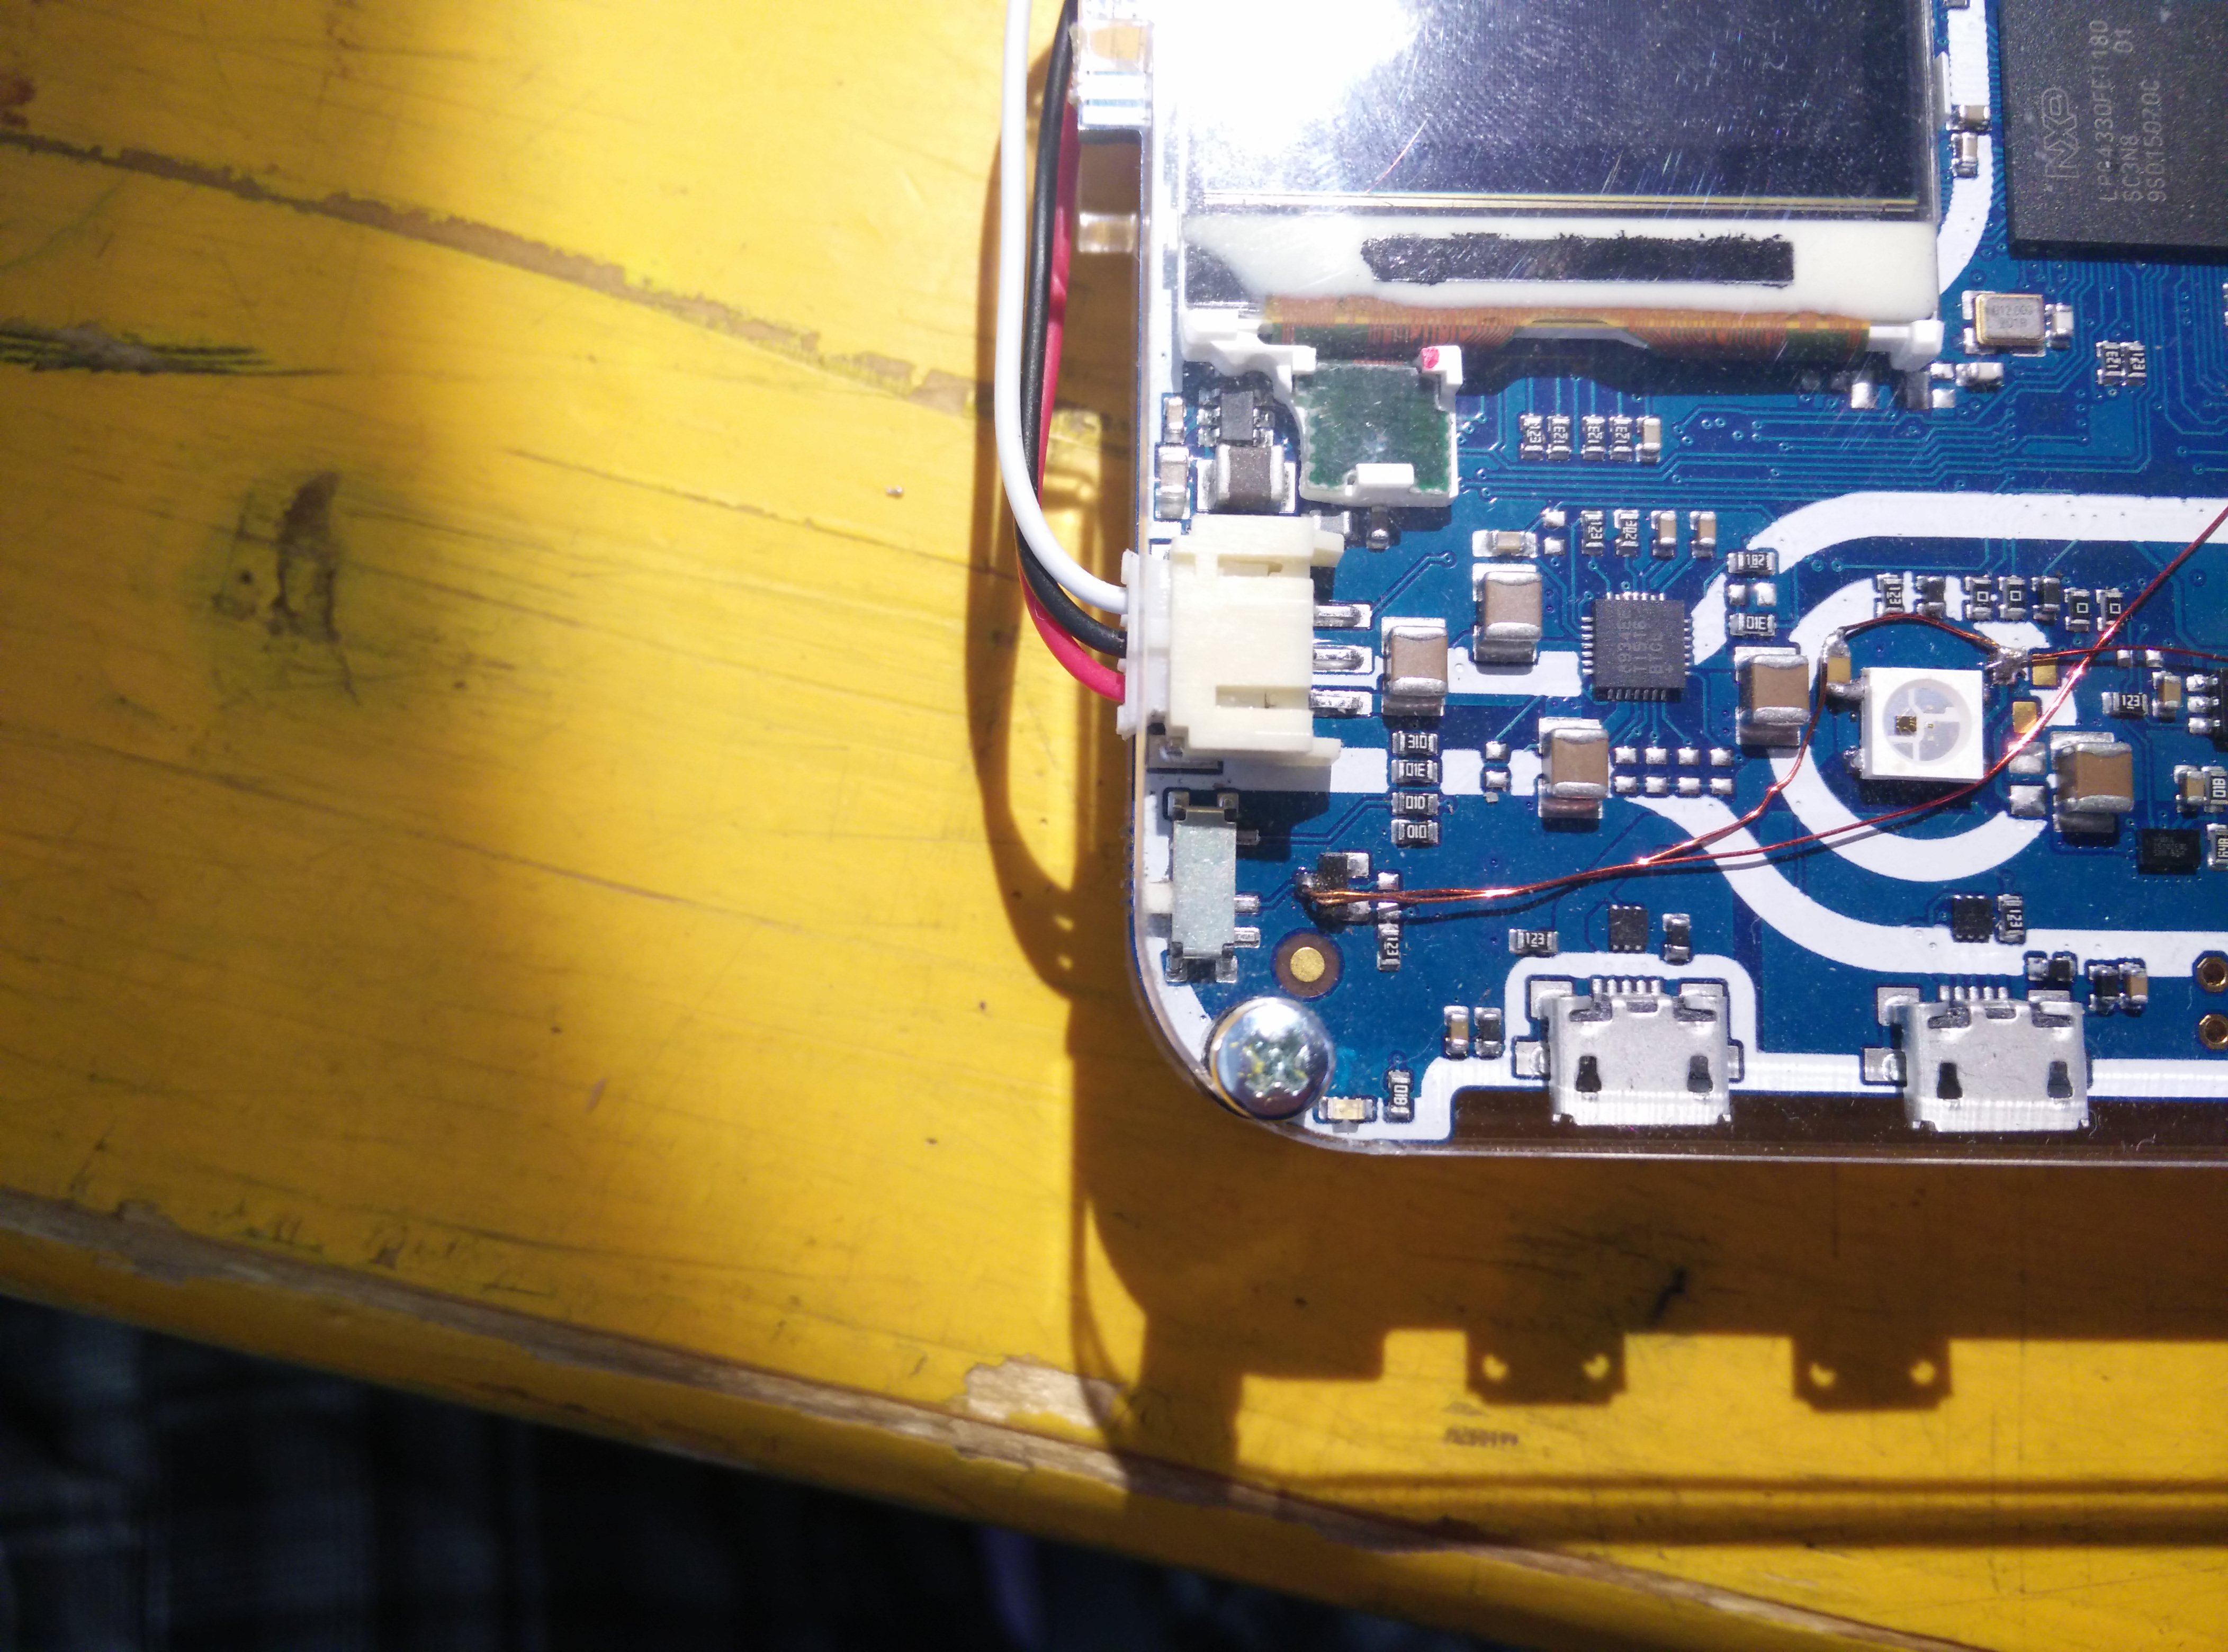
Wires: If you solder bridges onto the transistor pads ( like explained earlier ), the processor will be always on draining some power. With the wires not.
Capacitors: The WS2812B LED's are very vulnerable to not having a 100nF capacitor soldered next to their power pins, the internal controller pulses the LED's ( PWM ), so the current conversion is also very pulsed. That will cause voltage spikes on the ground ( Yes ground ) line, which will destroy the controller/the LED.
LED's: Why you ask, LED's are fancy \o/
What you will need:
- Thin isolated wire ( 0.2 mm enamelled copper wire [ Kupferlackdraht ] works fine )
- 8 100nF SMD capacitors
- 8 WS2812B LED's
- Soldering iron, solder, tweezers, Mate, etc
Step 1
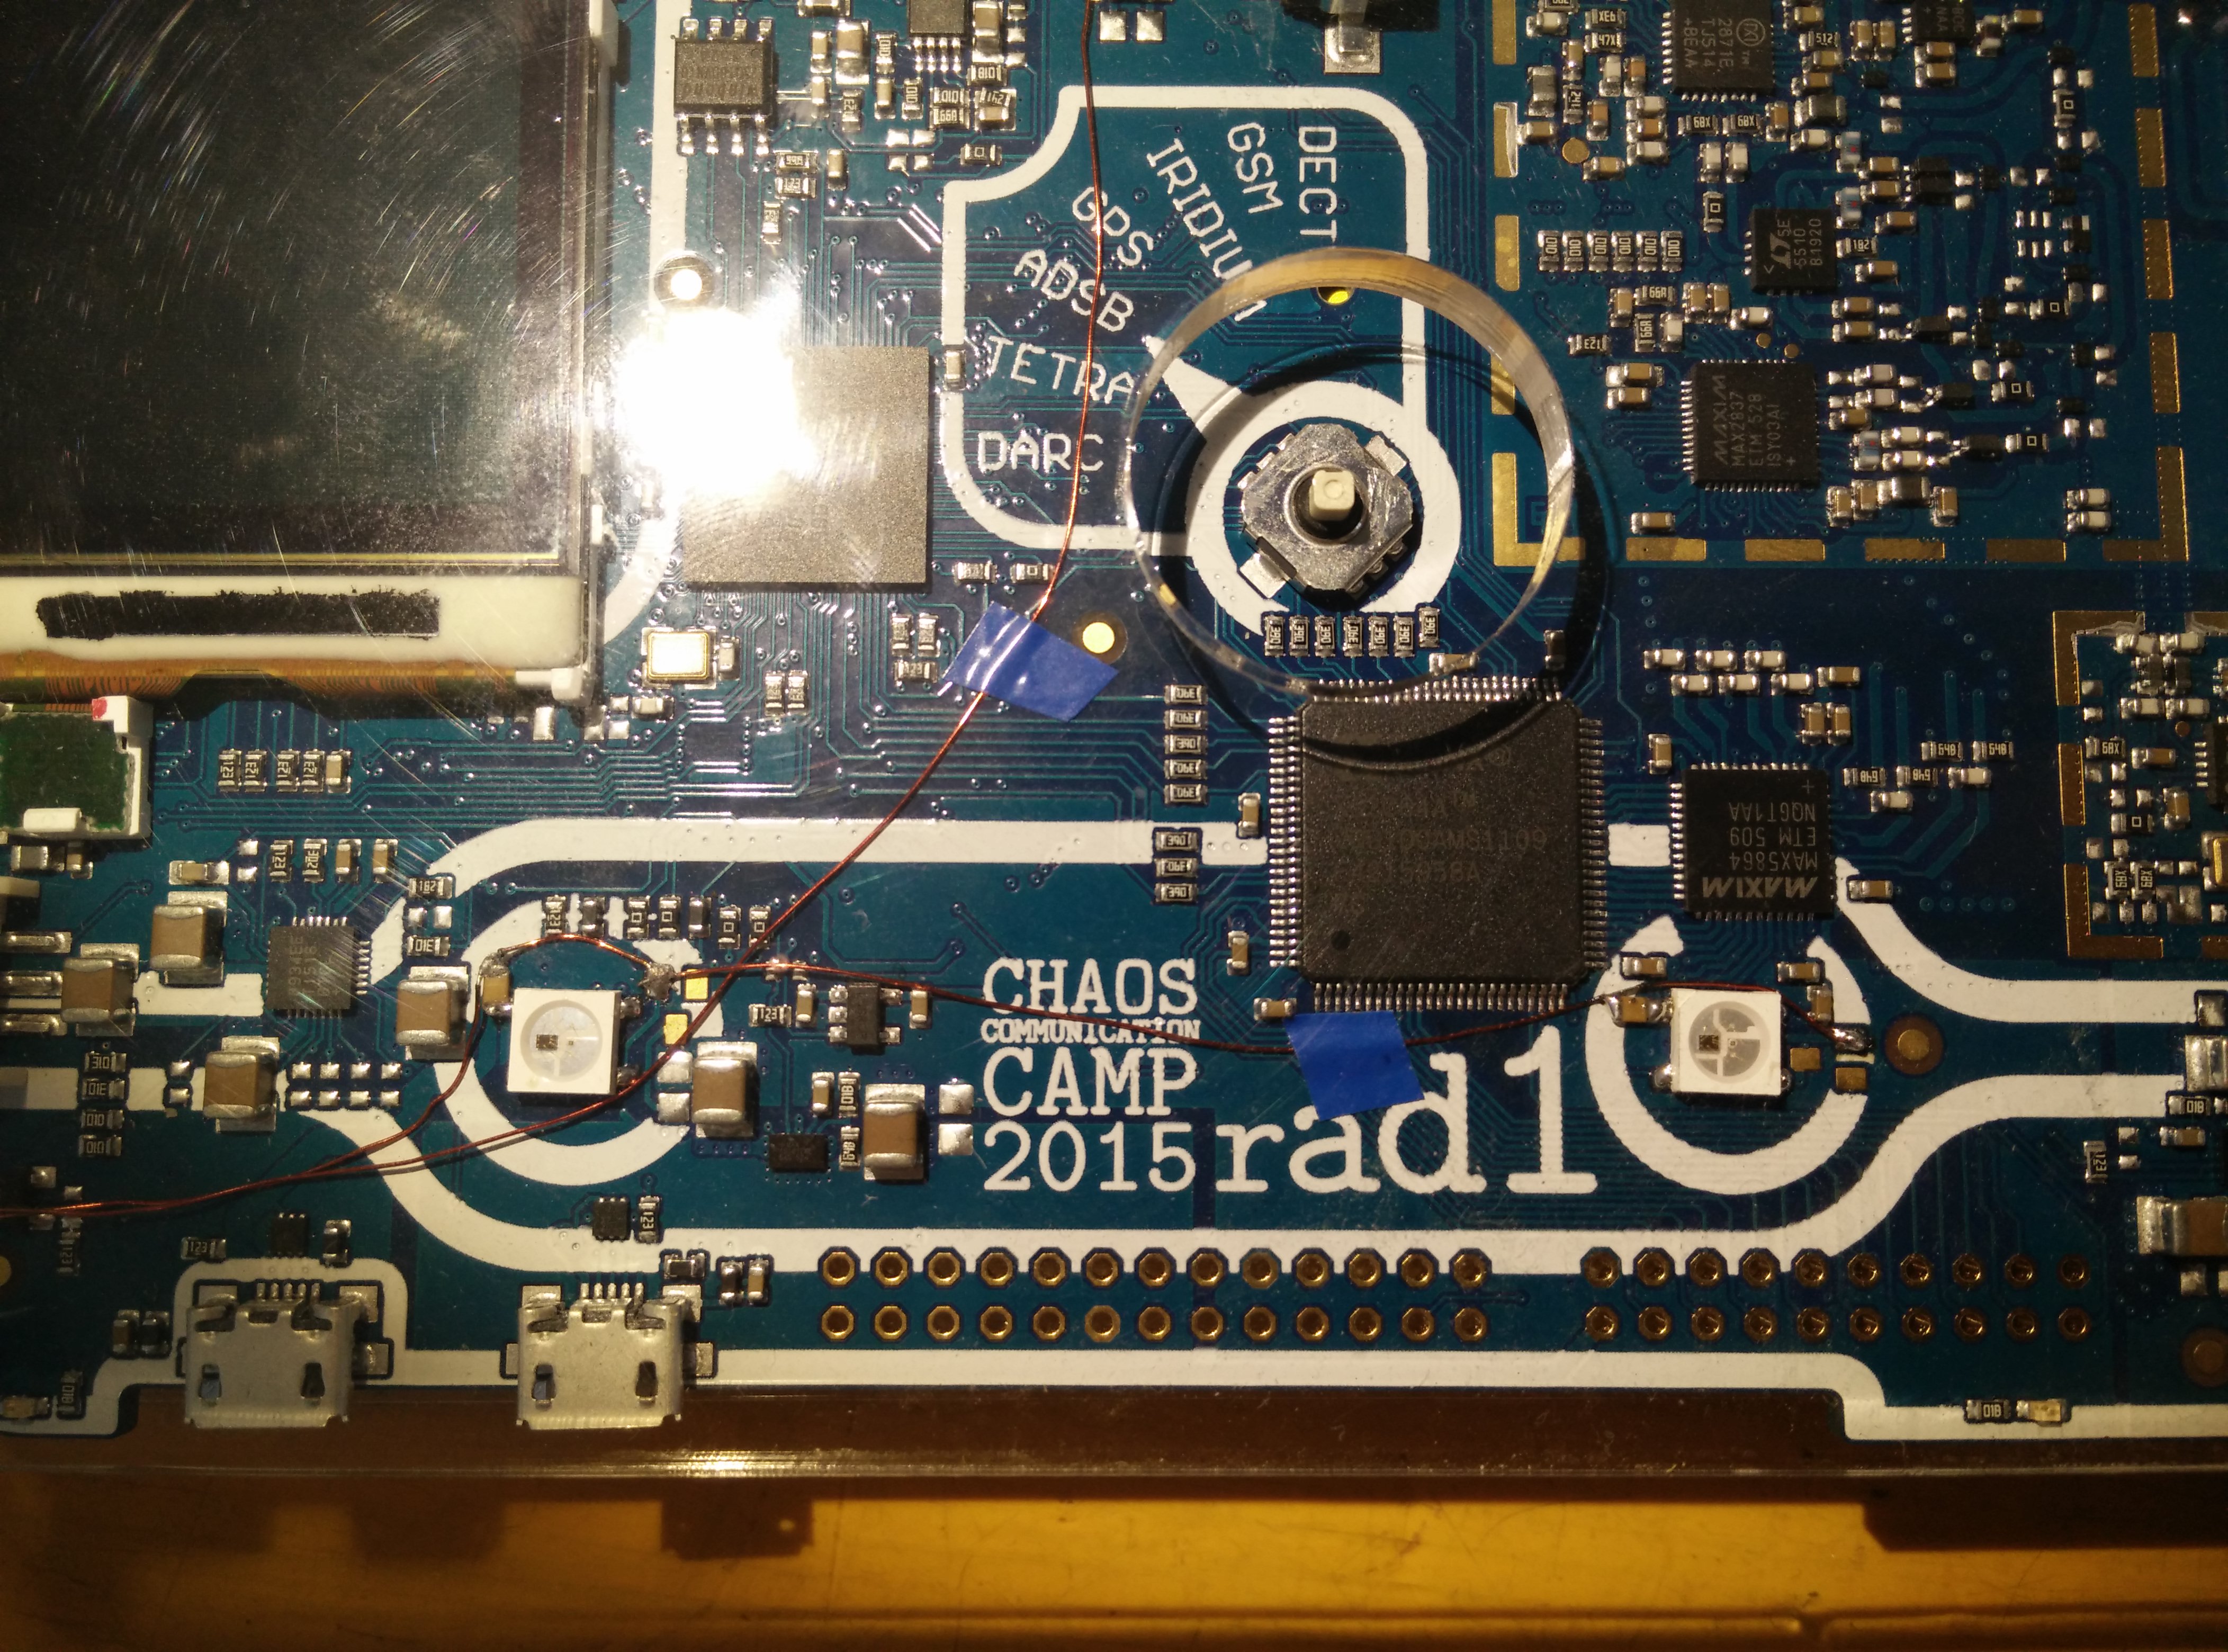
Add the thin wire to the solder pads like in the picture below.
Step 2
Add the LED's.
( scroll down for an explaining picture )
Step 3
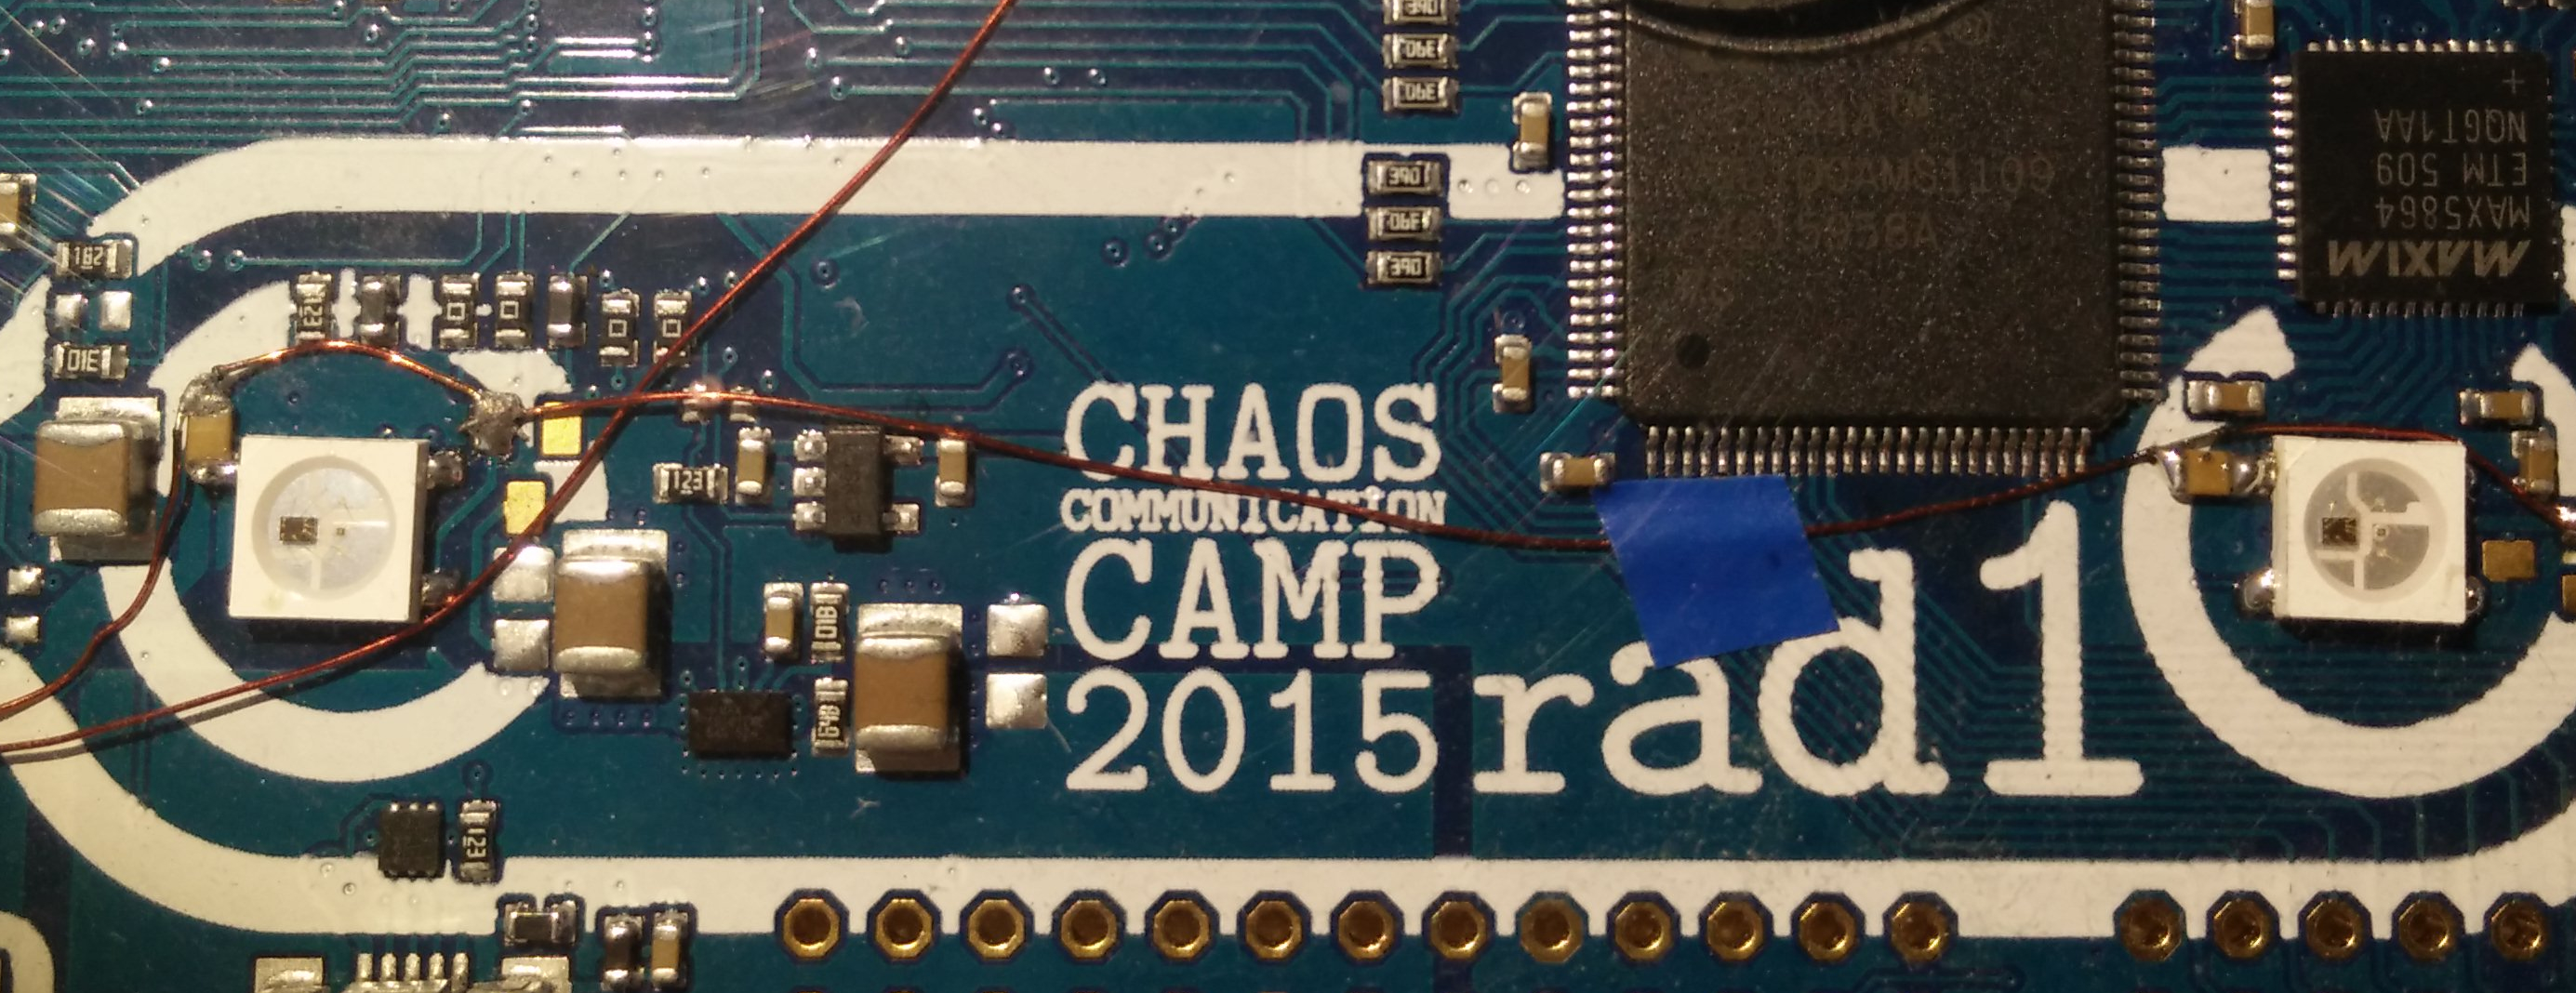
Now you should add the capacitors, that is kind of hard to do, because three capacitors don't have solder pads.
You can see the new capacitors next to the upper left LED pins.
I hope that the pictures are clear enough, the has to be a 100nF capacitor next to the power pins of every LED.
Step 4
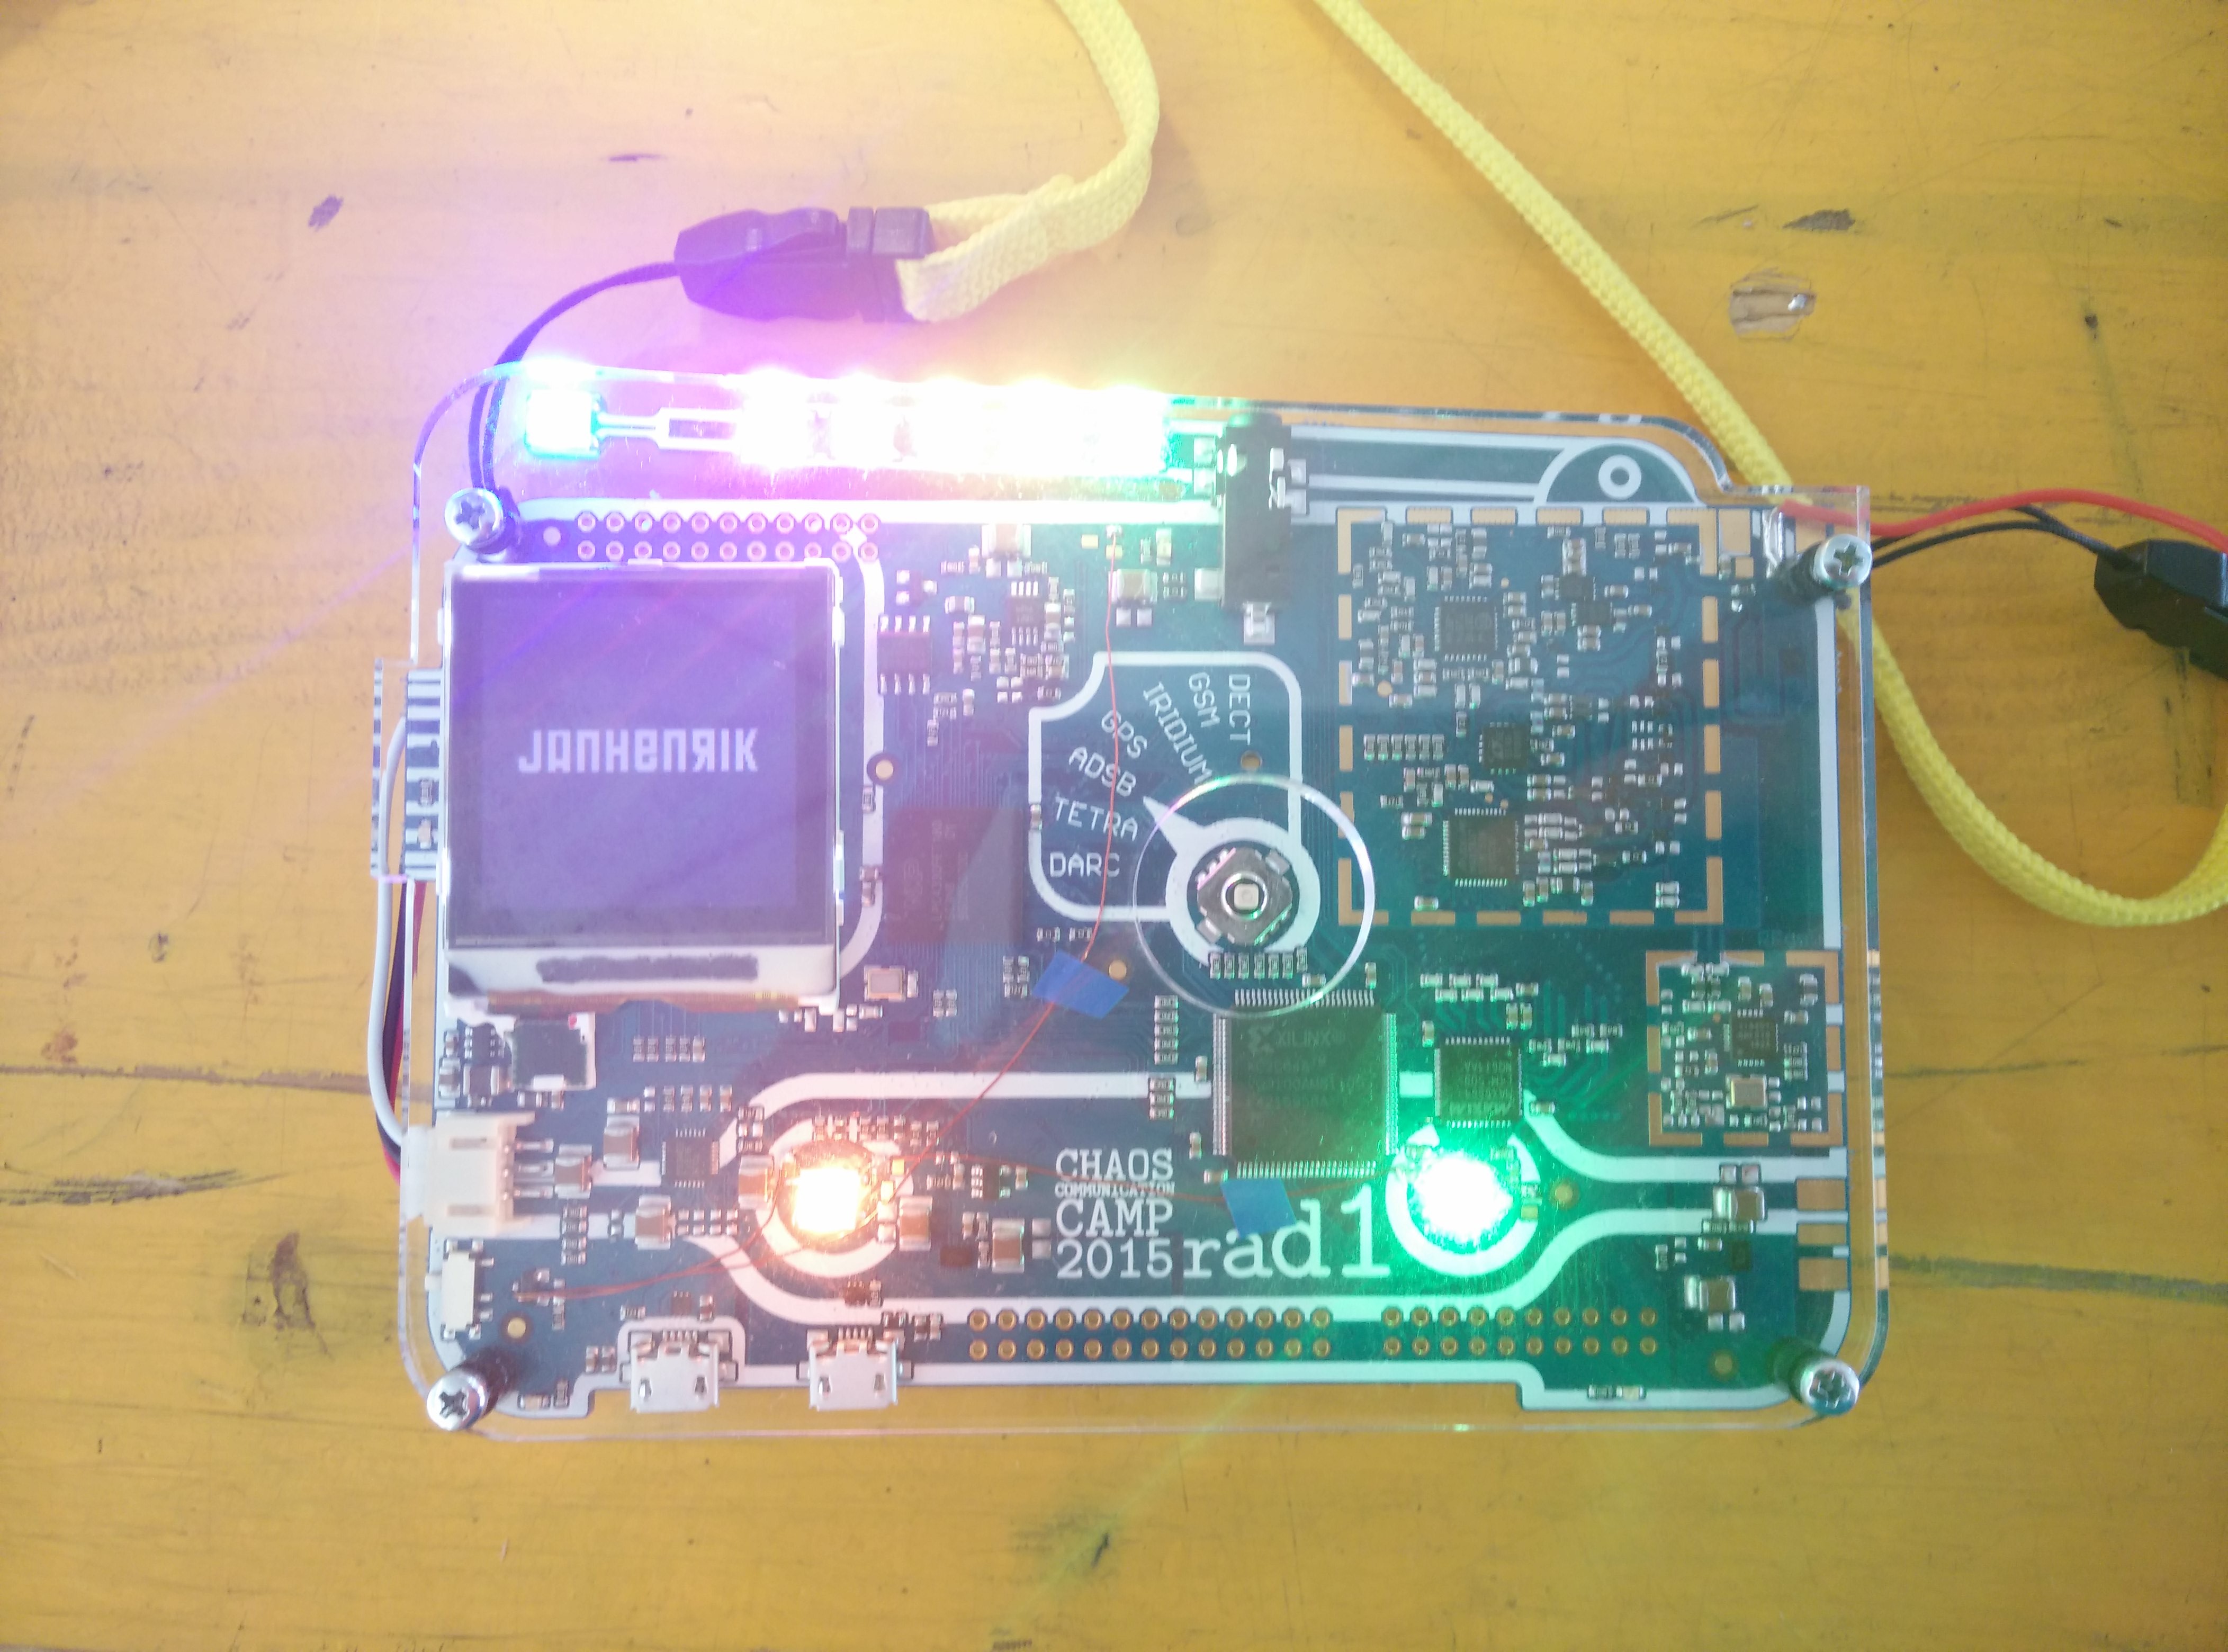
Test it.
Yay \o/
(Now successful running for 1 1/2 days)
Which way around do the LEDs go?
If you have a close look at an LED, you'll notice one corner is marked by having a bit cut off. In the photo below, the pads where this corner needs to be are marked in red:
I soldered one LED but it doesn't work?
All LEDs are on the same data line, if they are not all soldered on, the data line is interrupted. You can either solder on all LEDs or bridge the data line. The image below shows where the data line goes, red lines are on the PCB, green lines are usually closed by LEDs. If you are not filling all LED spots, you have to fill the missing connections with wire.
Will the LEDs do something as soon as I switch the rad1o on?
no.
Switch off your badge, press the joystick to the left (in the direction of DARC). Select TESTAPP, and then ws2812b.
How should the test pattern look like?
The 2 lower LEDs should be yellow, the one at the tip of the antenna should be green and the other 5 LEDs on the antenna blue.

