This is an old revision of the document!
Table of Contents
CAD Data for a rad1o case
If you want to build your own case for the rad1o, we added DXF files to github.
rad1o_dimension.dxf is just the PCB outline with holes.
https://github.com/rad1o/hardware/blob/master/rad1o_dimension.dxf
rad1o_with_parts.dxf is PCB, display, joystick and factory mounted connectors.
https://github.com/rad1o/hardware/blob/master/rad1o_with_parts.dxf
You can also easily make your own dxf files using Eagle, just activate your desired layers and run the dxf.ulp
Height of the case
There were some questions about the height, normally there are no parts on the backside, only if you need JTAG connections or a few CPLD extension lines connects here. If you solder the SMA connectors, you need about 1,5 mm here.
If you will place the battery on the back, you need about 5 mm here and some space for the cable on the left. On the front you need a minimum height of 5 mm for the audio connector and a hole for display and joystick.
Hint: The pictures currently show the first prototype - the current Github contains the correct data for the camp edition.
Happy building or knitting!
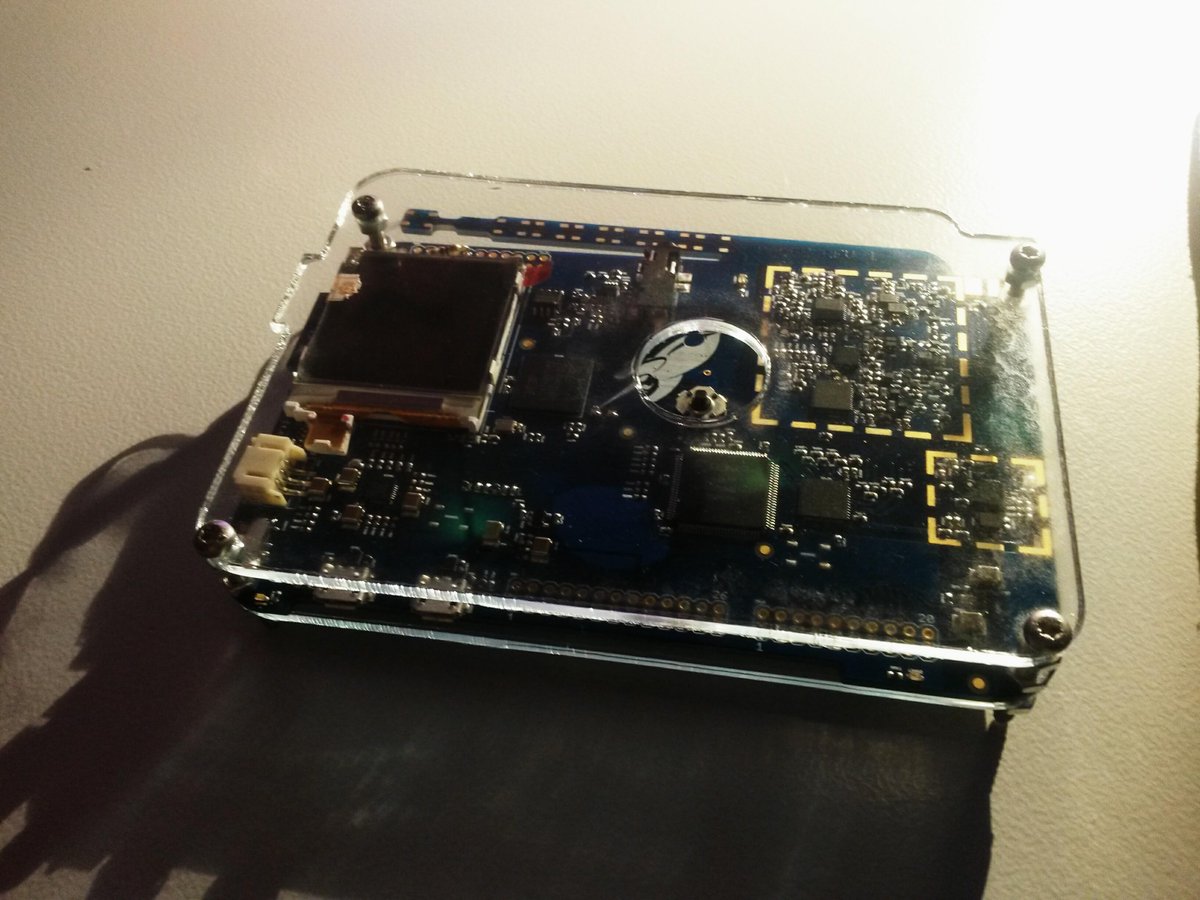
Simple laser-cut case
Here you can find a simple design for a laser-cut case. You can use acrylic glass or even wood for this. It offers basic protection and some mounting for a lanyard or clip. Feel free to add custom engraving to find your rad1o again when giving it out of hand. Parts needed:
- 2pcs 10cm x 13cm acrylic glass/wood/..
- 4pcs M3x28mm screw
- 8pcs M3 screw nut
- 8pcs M3 nylon screw nut (or any other isolating material - alternatively, isolating washers)

